
Moisture is video tape’s number one enemy. It can cause mold and will greatly reduce how long your tapes last.
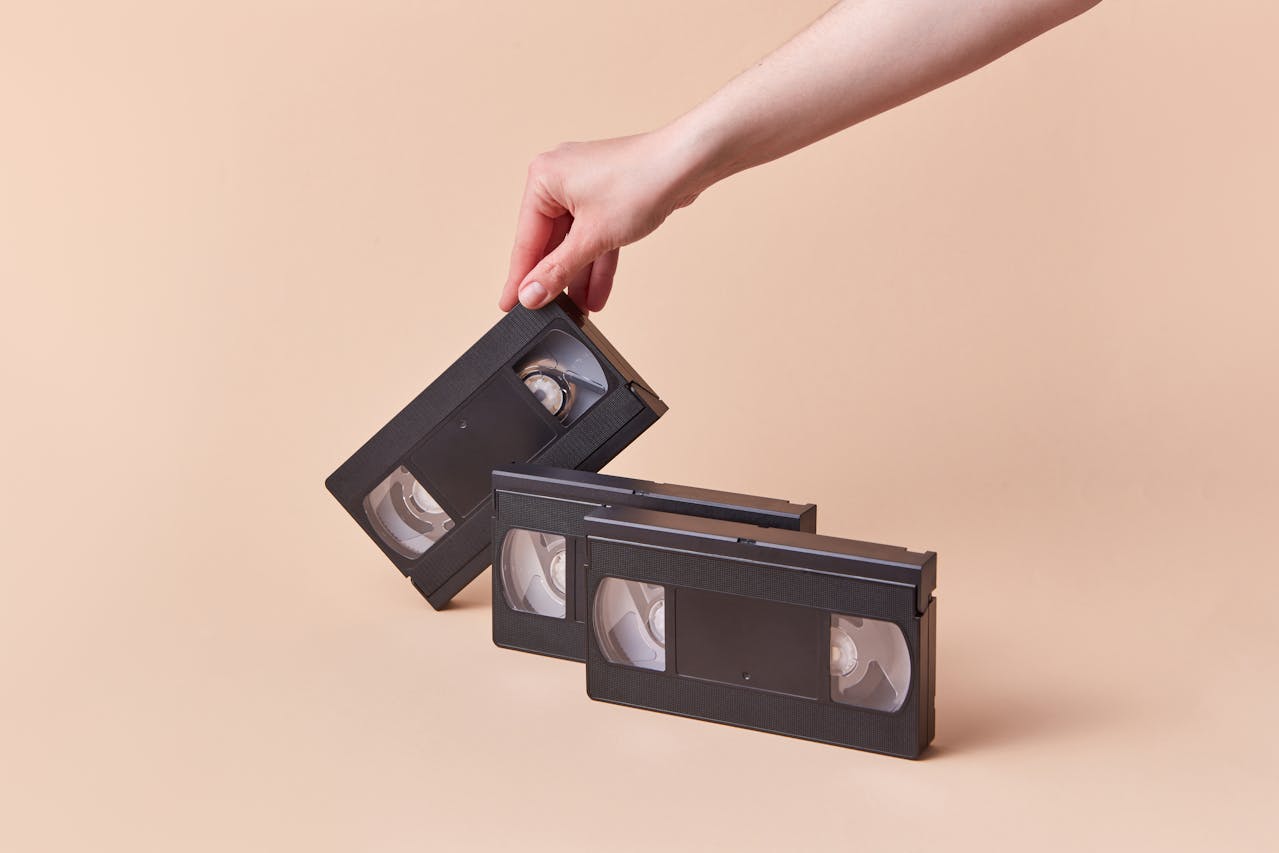
It’s important to clean your VHS tapes before you transfer them to DVD. This will improve the quality and prevent your memories from being lost forever. This process involves cleaning the audio, control, and erase heads in the video cassette.
Clean the Heads
Over time, VHS tapes lose their magnetic signal and quality declines, causing colors to fade and images to blur. Even if you store them properly on a sturdy shelf, these beloved memories can degrade and become unusable. That’s why vhs to digital conversion important – it will ensure that these precious memories are not lost forever. But before you can transfer your VHS tapes to a new format, it’s necessary to clean the video head drum and video heads inside your VCR. This process is easy to do and will ensure that your videos are transferred in high-quality.
If you have been noticing that your video is not playing as well as it used to, then your VCR probably needs a head cleaning. The best way to do this is to open your VCR and clean the heads manually. Avoid using VCR head cleaner tapes, as these are often filled with chemicals that can actually damage your VCR.
To clean your VCR’s heads, you will need some pieces of white paper, a screwdriver and a bottle of isopropyl alcohol. Cut the paper into strips that are about 1.5-2 inches thick and 4-5 inches long. Soak one of the strips in alcohol and carefully apply it to the round drum that contains the read/write heads. Then, rotate the drum counter clockwise several times to rub the head clean. Continue this process with the remaining paper strips until you notice that there is no longer any dirt left on the heads.
After you’ve cleaned the video heads, use cotton swabs and 99% isopropanol to wipe the entire tape path, including the pinch roller and guide rails. Be careful not to apply too much pressure, as this could damage the delicate components of your VCR. If you do damage the VCR, you will need to replace the video drum and the video heads, which will be a waste of your money. Keeping your VCR clean and demagnetized will keep it in good working condition and extend the life of your valuable home recordings.
Clean the Magnetic Tape
Many older tapes are plagued with dirt, dust and mold, which can cause dropouts during playback or momentary loss of signal. A good electronic tape cleaner will generally eliminate these problems, but some older or damaged tapes may require manual cleaning. This process should only be attempted by someone who has the appropriate equipment and experience.
Before beginning, ensure that there are no loose parts in the cassette shell or reels. If there are, remove them and store them in a safe place for later use. Also, make sure there are no magnets or speakers nearby that could erase the tape by magnetic fields.
For this method, you will need two Q-tips that are the same length and a piece of lint free soft fabric (such as a handkerchief). Tape the ends of the Q-tips together with some scotch tape and then fold the lint free material in half to fit between them. Place a swatch of cloth over the two Q-tips and secure it with a small piece of elastic band or tape. This will keep the tape clean and prevent any accidental contact with other objects during the cleaning process.
Next, open up the casing and rewind the tape to the very end. Put the tape into a VCR and put it into FAST FORWARD or REWIND mode, but don’t press the PLAY button. Gently wipe the exposed tape with your cotton cloth or tissue, being careful not to touch any of the magnetic part of the tape. Continue this process for about 12 inches of tape and then rewind it back into the cassette.
If you notice any dirt or debris sticking out of the cassette, this means that the tape has been damaged by mechanical handling and is prone to further damage and loss. This is why it is important to always handle tapes gently and to minimize handling whenever possible.
A common problem is a chemical breakdown of the binder on the Oxide side of the tape, known as “Sticky Shed Syndrome.” This causes the tape to deteriorate and shed particles that can scratch video heads and cause a loss in picture quality. Baking methods that have been proposed to remedy this problem have proved unreliable and do not solve the issue completely.
Clean the Cassette

Leaving old tapes in humid environments like basements or attics can cause mold to form. Even if the mold isn’t visible, it can work its way into tiny cracks in the cassette casing and cause the tape to become unplayable. Using a cassette cleaner often doesn’t remove enough mold to restore a video tape back to its original state. The best way to avoid this problem is to store the tapes in a cool, dry place and not expose them to humidity.
VHS is still a popular format in some areas and many people have an extensive collection of family memories stored on tapes that they’d like to convert to DVD. Unfortunately, mold and dust can damage a tape to the point that it cannot be converted and the content will be lost forever. If an electronic tape cleaner doesn’t fully clean the tapes, it’s possible to manually clean them before attempting a transfer.
The first thing to do is to open the cassette case and get a better look at the contents of the tape. You’ll need to have a few materials on hand including isopropyl alcohol, a can of compressed air and cotton swabs. Putting on a pair of cotton gloves is also a good idea. Avoid touching the film with bare hands, as dirt can easily rub off and scratch the tape.
Next, use the can of compressed air to blow out any remaining bits of dust and debris in the cassette casing and tape guides. Then, dip a Q-tip in alcohol and gently swab the inside of one of the empty reels. Don’t try to clean the reel that contains the tape, as this can lead to tangling. After swabbing the reel, screw it securely back into its case and then rewind it completely.
Now, you’ll need to allow the tapes to completely dry out. Be sure to not use a hair dryer or space heater, as heat will warp the tapes and make them irreparable. Ideally, you’ll want to place the tapes in a cool, dark spot with a constant air flow. This will help to speed up the drying process and prevent any accidental scratches.
Clean the Case
If the VHS tapes you have are old, they may have some scuff marks or lines on them. These usually come from stacking one cassette on top of another in a VCR or from a scratch on the glass surface of the CRT. These can be removed by cleaning the videotape case with a cleaner such as methylated spirits or window cleaner. A good cleaner should not harm the cassette cases or leave any traces of residue on the film or tape.
A question we hear often is “does a VHS tape degrade?” Yes, magnetic media such as tapes deteriorate over time and should be converted to digital formats as soon as possible. A digital format like a DVD or video file is easy to store, play on multiple devices, share with friends and family, and frees up space. Plus, it will preserve your memories forever.
Precious videos of weddings, births, holiday family gatherings, dance recitals, school plays, sporting events or children playing around the house are best stored in a digital format. A professional service will convert your VHS tapes to DVD or video file and ensure they stay safe and can be watched for generations to come.
Before sending your tapes in for conversion, you should clean the videotape casing. The easiest way to do this is with an electronic tape cleaner. These are available online and at older video stores and work great to get the tapes looking brand new. They are also inexpensive and non-toxic, so you can use them with confidence.
It’s also a good idea to remove the reels of tape from the cassette and place them in a safe area until they are completely dry. This is because the water can damage both the tape and the tape player. It is recommended to use a large fan in the room where the tapes are being stored to increase air flow and speed up drying.
After you have cleaned the tapes and the cassettes, you can re-assemble them. Be sure to screw the cassette shell securely back together. A small amount of alcohol can be used on a cotton swab to swab the inside of each empty reel. Then, carefully twist the reels to pull the cleaned tape back into the cassette.